Today we turned the Guesten Hall courtyard into an imaginary trench for a training session.
Being an imaginary trench, we could fill it with whatever we liked…
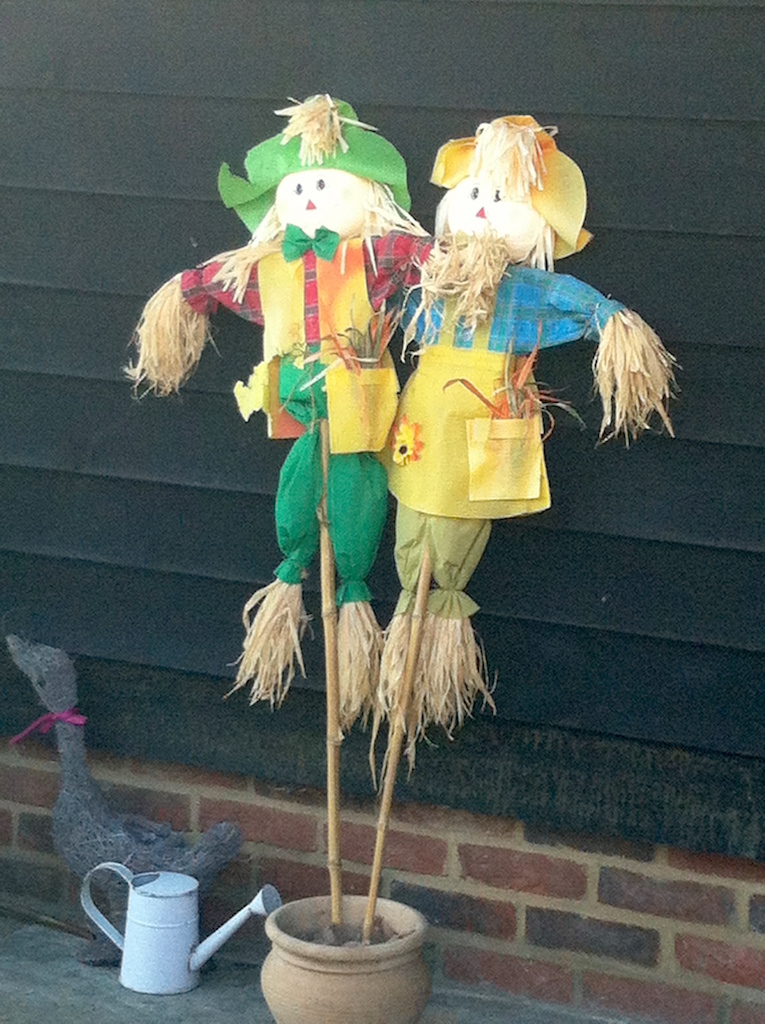
A plant pot became a roman amphorae, a clipboard marked the edges of a burial pit, a scarecrow stood in place of a skeleton and… Lisa for the discovery of the morning… a cist burial!
The aim? To train our Venturers to be true professionals by inducting them into every archaeologist’s most essential skills: drawing plans, sections and leveling.
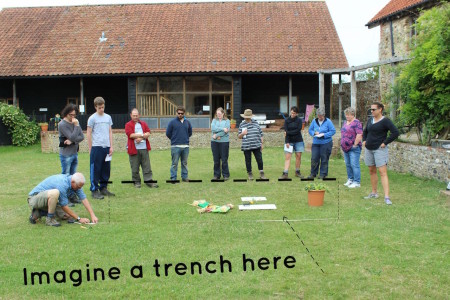
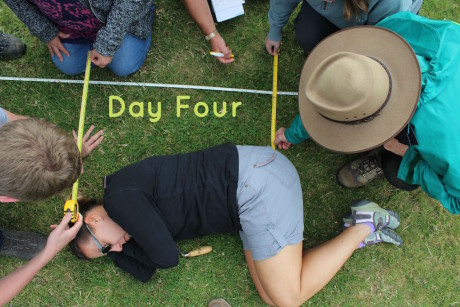
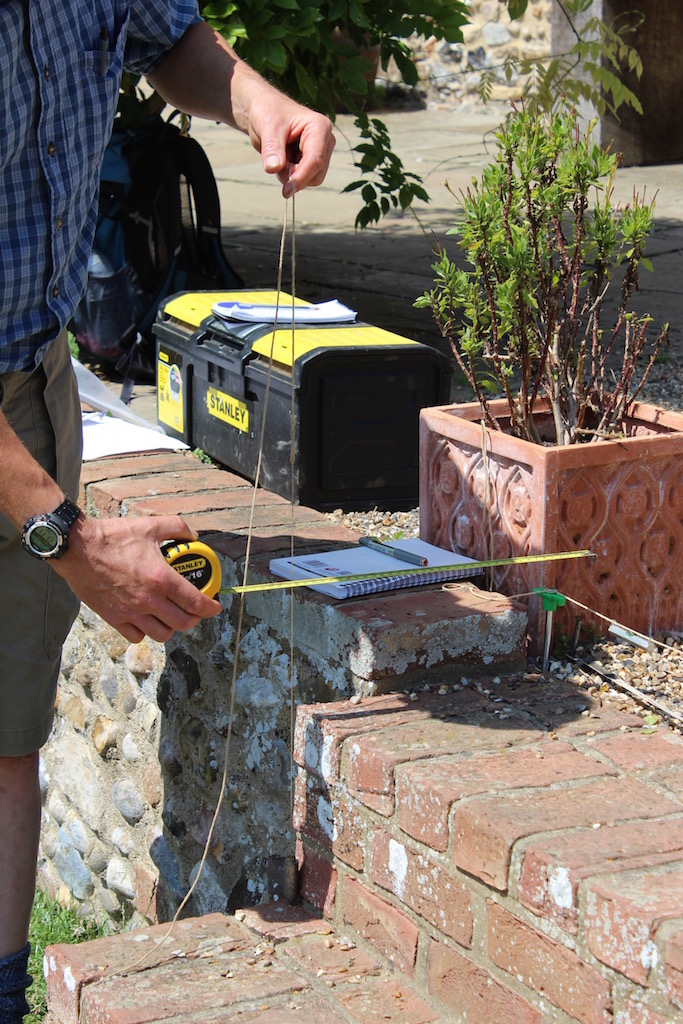
Plans give archaeologists a birdseye view of a trench, so we started by laying a tape measure along the side of our imaginary trench filled with our ideal discoveries…
Lesson 1. Draw a plan
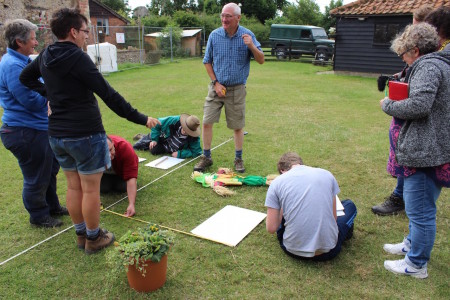
Lisa took the place of the skeleton under one condition: be kind to her proportions. To show her due respect, we lay a trowel next to her body as a burial gift.
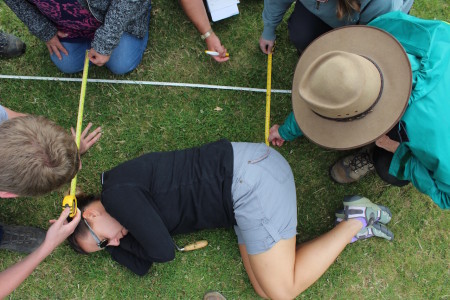
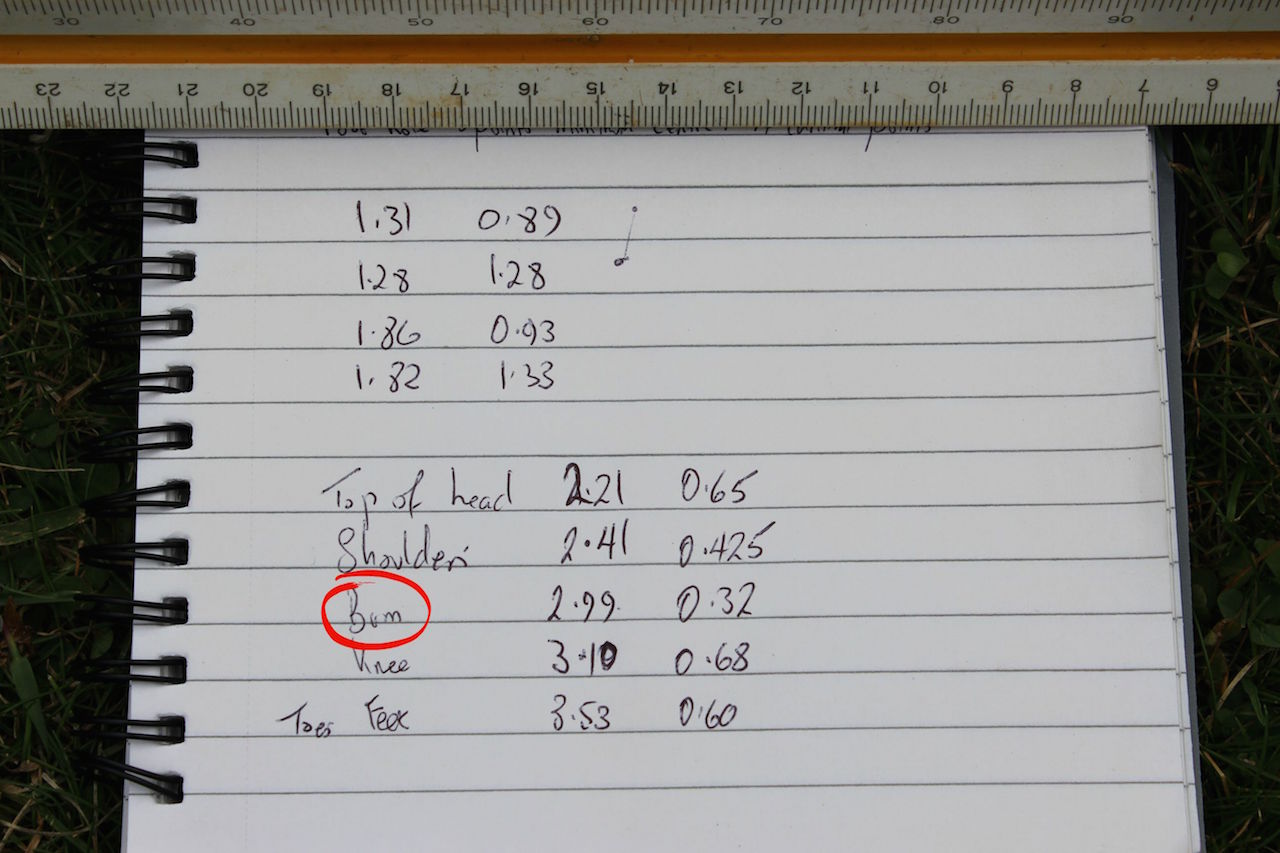
Lisa’s measurements
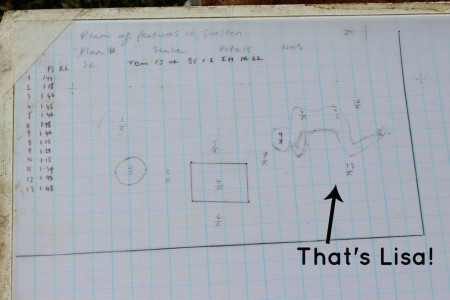
Plan of the trench
Lesson 2. Leveling and the Dumpy comes on to scene
Leveling is how archaeologists record how far things are below the surface and in relation to sea level.
First up, we had to learn how to set up the kit: a tripod with a Dumpy Level on top, and most importantly, make sure the Dumpy Level is actually level!
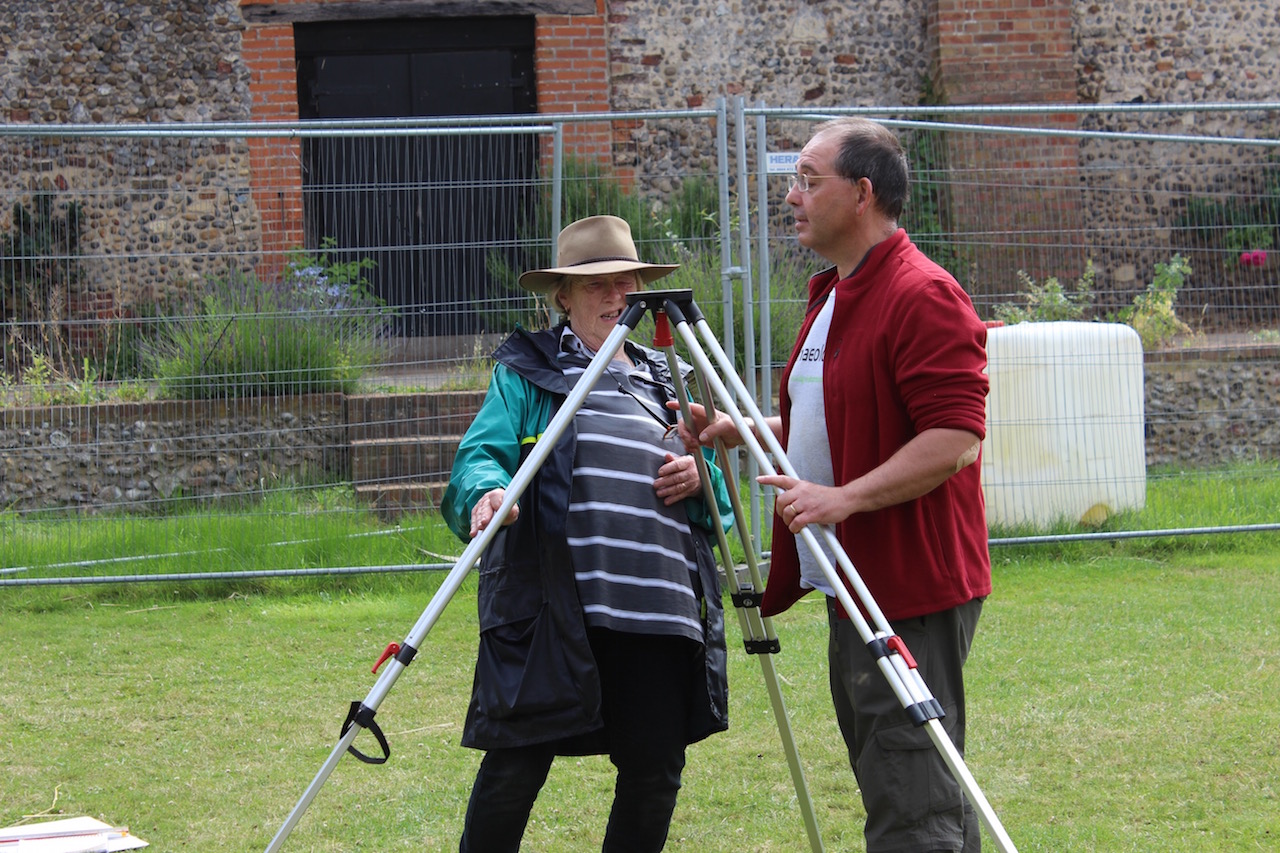
Is that tripod level?
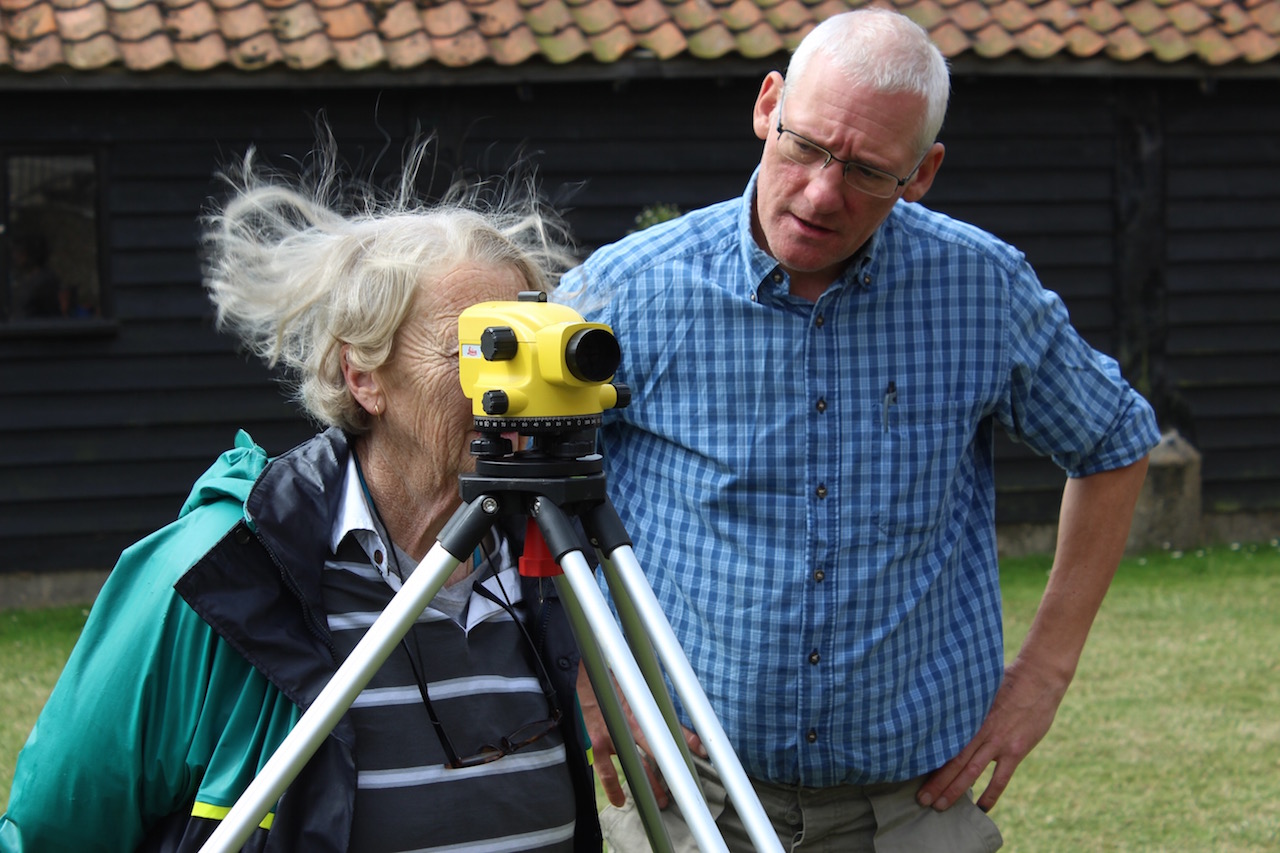
Joan is blown away by the Dumpy. But…why is a Dumpy Level called a Dumpy Level?? All comments welcome.
Of course, there was one question Nigel couldn’t answer, and we’ll award 70 archaeology points to anyone who sends us the right answer!
Lesson 3: Drawing sections
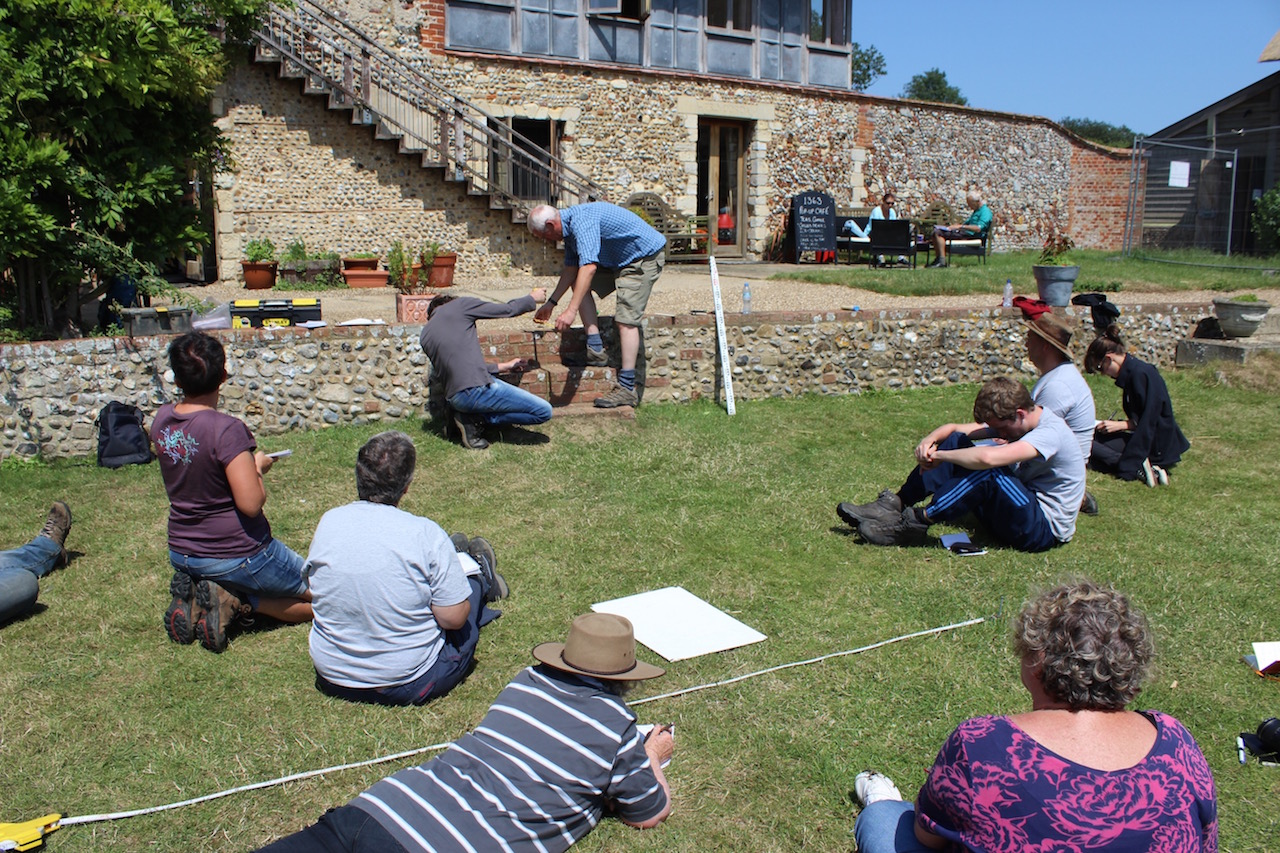
Measuring the steps
A “section” is basically a drawing of the vertical wall of a trench, which gives archaeologists a cross-section through the different layers.
In our scenario, we used the courtyard steps, with each step representing a different layer of our imaginary “excavation”.
The set up is pretty simple – just set up a level string and measuring tape across the top, then use a plumb-bob and another measuring tape to measure across and down at regular intervals to create a cross-section on our waterproof graphpaper (aka. permatrace).
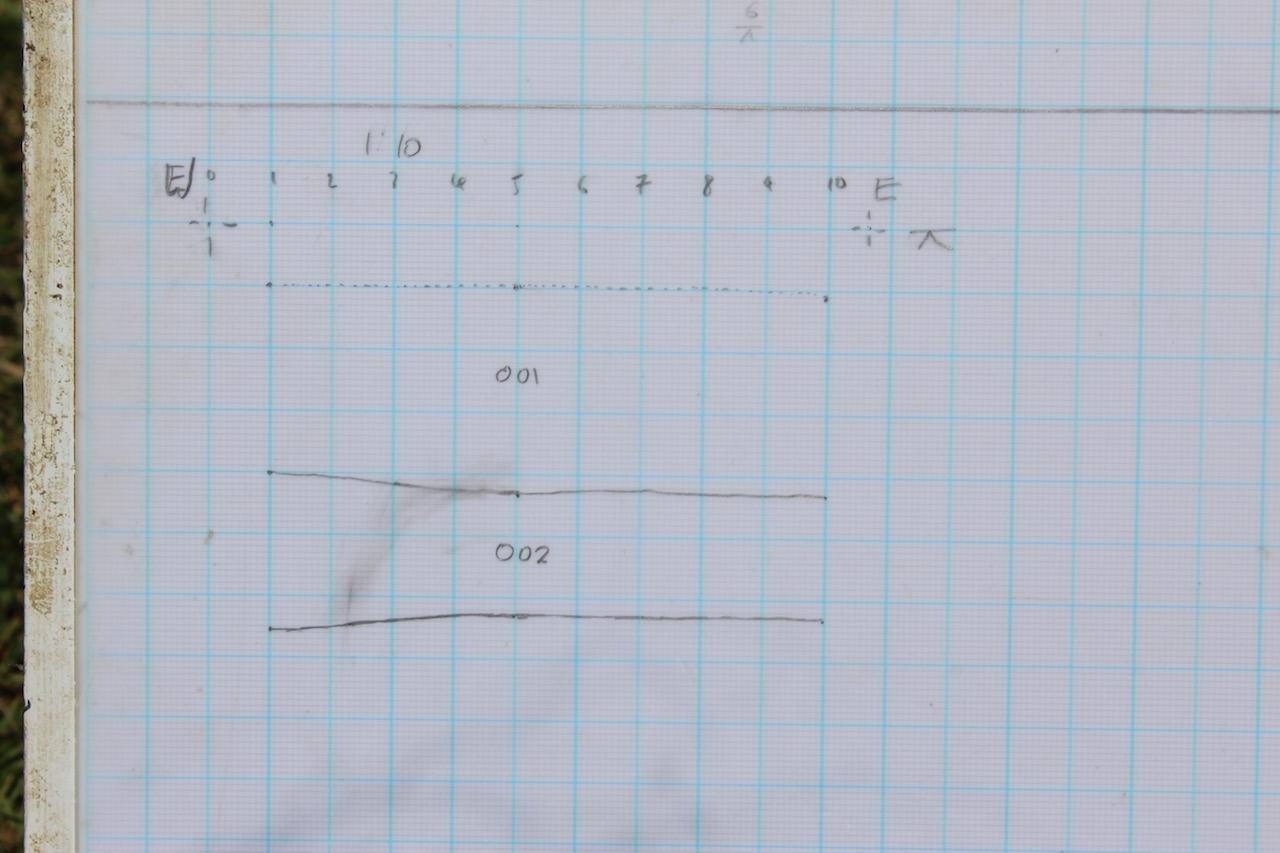
The result
We didn’t get round to drawing the third step or “layer” because the bacon bell rang – time for a well-deserved break!
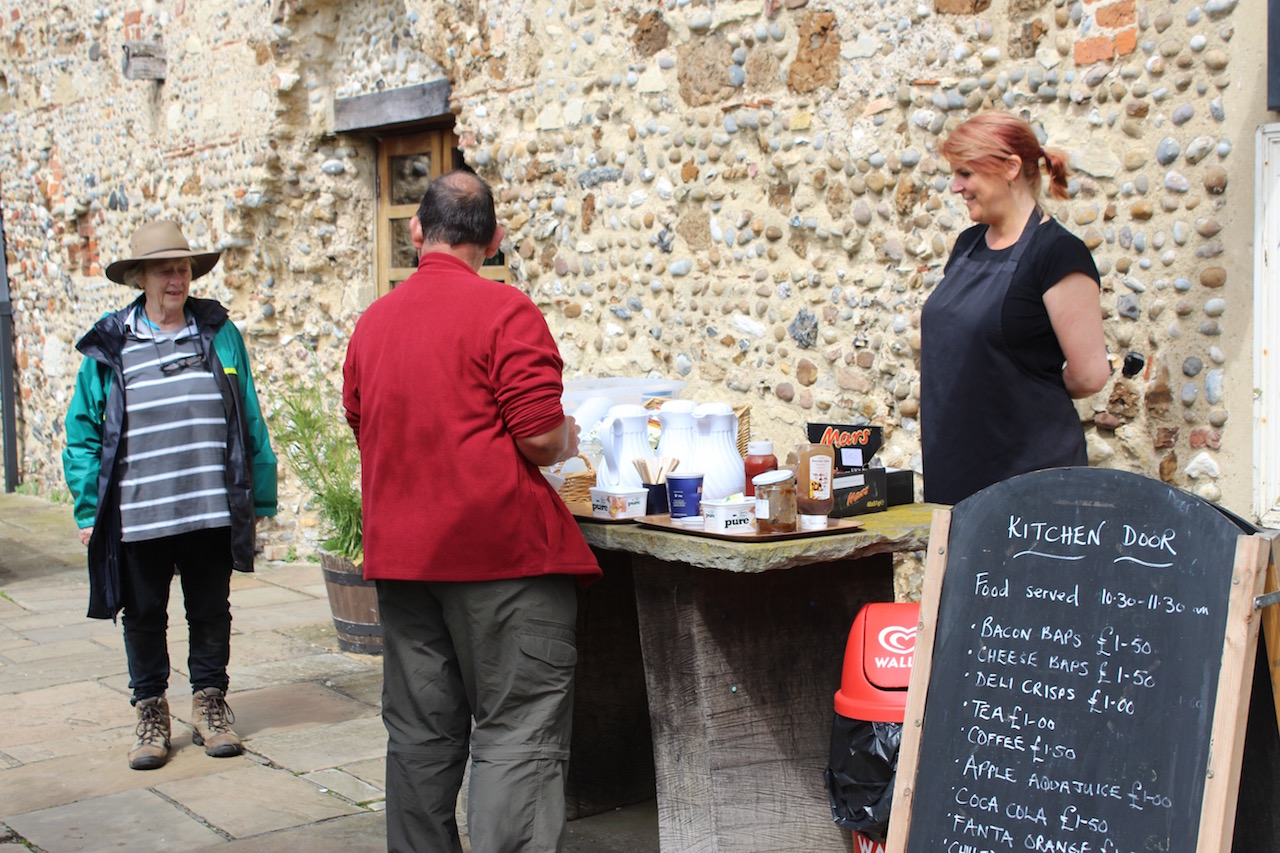
Tea Break – “It’s ritual!”
And in the meantime…
Work began on trench number 18 – the trench of many names. Some call it the ‘road trench’, our Americans call it the ‘drive trench’, others refer to it as… the “Broadbrand Trench” (it being so long and narrow it looks like we are going to put a broadband cable in rather than do an archaeological dig), while still others call it the ‘probable gatehouse trench’ (because that’s where we think we’re probably going to find the gatehouse… let’s hope we haven’t jinxed it!)
So why such a long trench?
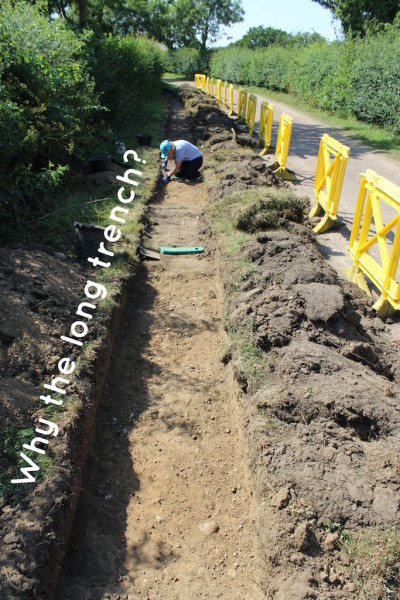
Well, there’s a suspicious bend in the road that leads into Leiston Abbey. There’s no visible reason why it should bend, which is what makes us think there might have been some structure there in the past that had to be avoided.
So now, we’re digging up the verge beside the bend and it just so happens to be a very long bend…
Early signs are good. Rita has already dug up some tile, while Lisa has picked up a small round object, but what is it?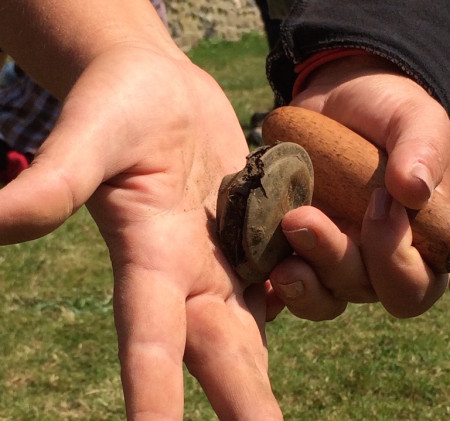
At first we thought it was a stopwatch (belonging to the Mad Hatter no doubt)… but then we consulted our finds expert (Google) and found out that it was… a carbide lamp for a motorbike or car!
By the way, no scarecrows were harmed in the making of this training session.