 We’re back with our second lesson on how to create 3D models for archaeology.
In Part 1, we covered the very basics of photogrammetry, looking at the equipment and methods we use to photograph an artefact perfectly. Now, it’s time to turn those 2D images into 3D wonders using the PhotoScan photogrammetry software. You can find a free demo version here. Let’s get started!
1. The masking process
This first step is all about removing any unnecessary background imagery from the photograph, leaving you with a clean image of your object.
Once you’ve uploaded your image onto PhotoScan, select the ‘Intelligent Scissors’ icon and hold down the Ctrl key before moving the mouse along the outline of the object. Once you’re happy with the section you’ve captured, click once to secure the line.
Continue this process around the rest of the object then, once you’ve made it back to your starting point, close the loop by clicking on the first point you made.
Grey out the background by selecting ‘Invert Selection’ and then ‘Add Selection’.
Simple! Now you can repeat this process for the rest of the photos you’ve taken. It may take some time, but trust us the end result will be worth it!
2. Get your ‘Chunks’ ready
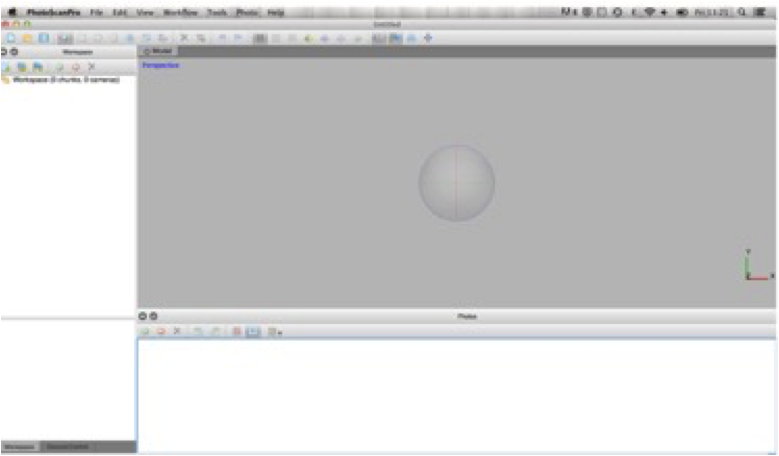
When you launch PhotoScan, your screen should look like this. Now you’re ready to start stitching all of your photos together to create your 3D model. We’ll tackle the modelling process in two stages or ‘Chunks’. One Chunk includes all the photographs taken from one side of the object, while the second Chunk includes all those taken from the other. We’ll labels these Chunks ‘A’ and ‘B’, and will work on them separately, bu they will eventually be stitched together.
First up, select the ‘Add Photos’ button at the top of the workspace, and add all of the photos relating to Chunk A.
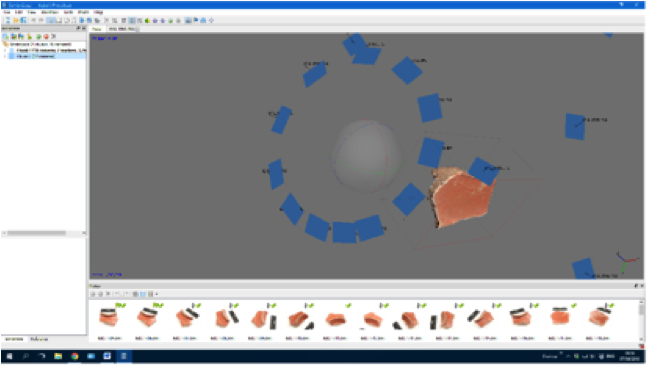
3. Identifying features on Chunk A
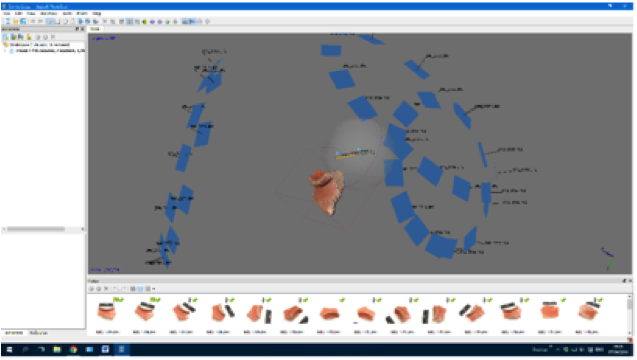
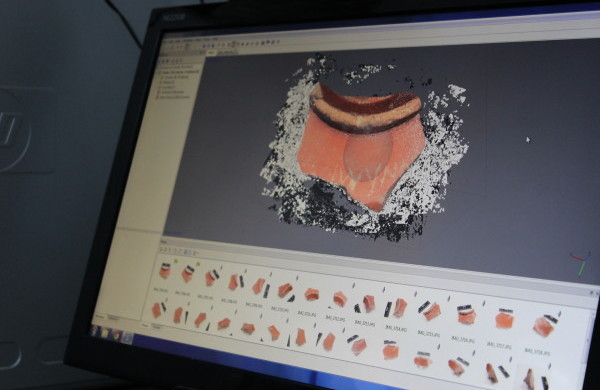
In order to create the 3D model, the software first goes through each photograph and identifies ‘features’ that form obvious aspects. The software then matches these identified ‘features’ across multiple images to produce a sparse cloud of 3D point locations.
To get this process started, choose ‘Workflow’,’Align Photos’ and then accept default settings. Your screen should end up looking like the picture above.
4. Create a digital scale
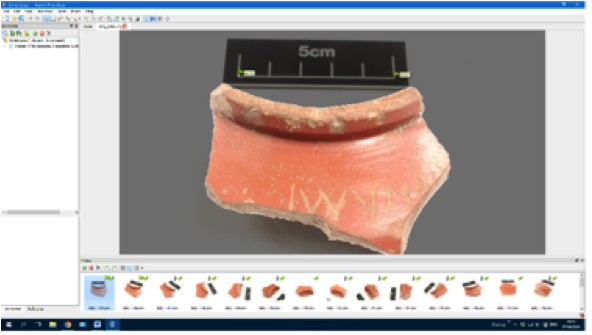
This next step is an important one! The software needs to be able to gauge the absolute dimensions (such as length and width) of the object, in order to ensure uniformity across the rest of the images.
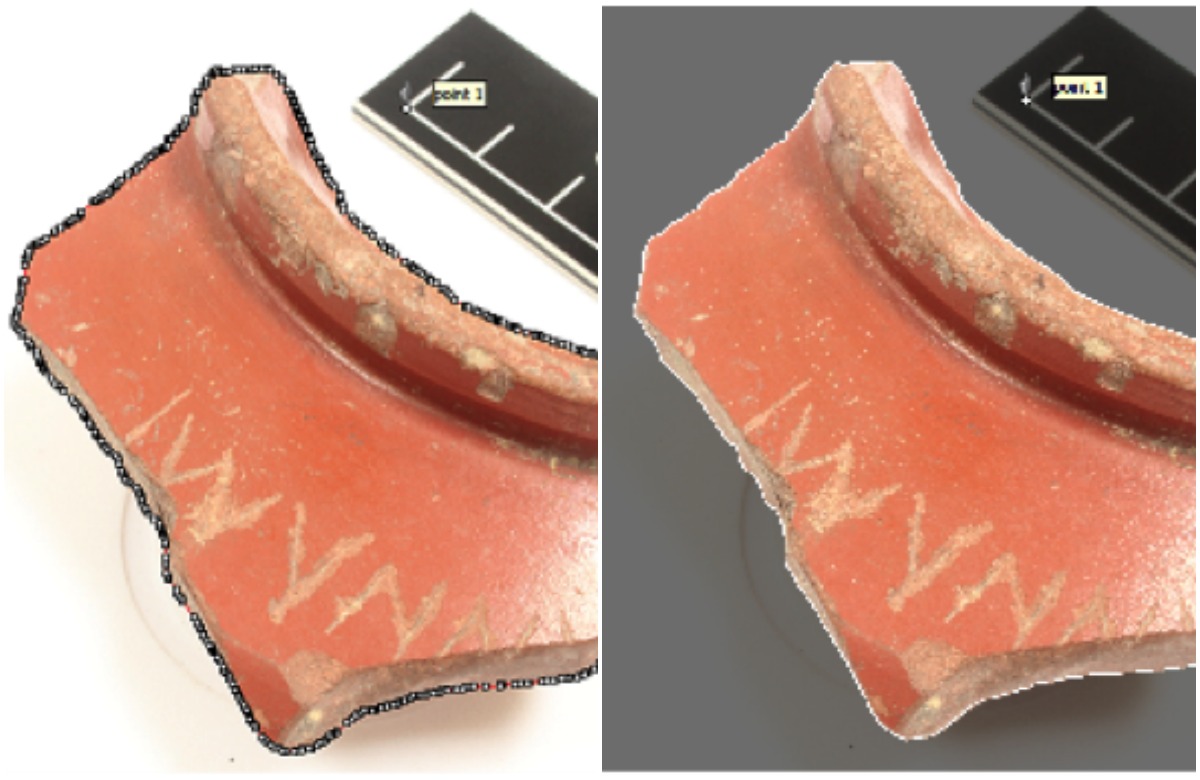
Double click the first image in your Chunk and zoom in until you have a good view of the whole scale bar.Right-click on the top-left corner of the scale (the thin black outline) and choose ‘Create Marker’, this will create a marker at that location (point 1). Now, repeat this process on the top-right corner of the scale to create ‘point 2’.
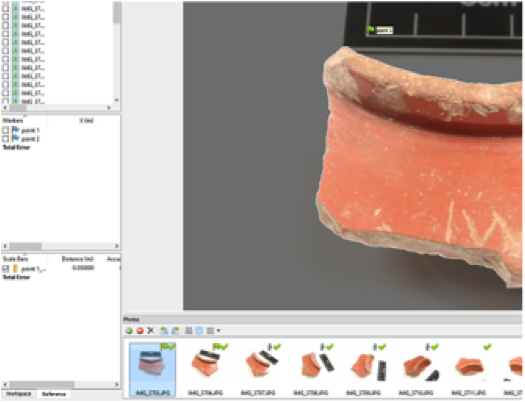
Your screen will look like the one above. Fortunately, you only need to repeat this process one more time on one other photograph in Chunk A, before the the software automatically calculates the position of the markers on all the rest..
5. Add the values
The software now has its scale markers, but it still needs to know their value to produce a 3D model with the correct dimensions.
Select the ‘Reference’ tab on the bottom left of your screen, which will bring up some new options on the left-hand task pane.
In the middle pane, tick the boxes next to points 1 and 2, and hold the SHIFT key to select them in blue. Right-click on the selection and choose ‘Create Scale Bar’, a yellow line will appear between the two points on your photo and ‘Scale 1’ will be added to the bottom pane on the left-hand task panel.
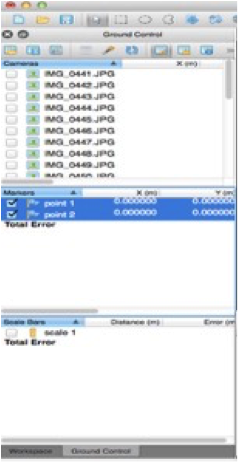
Tick the box next to ‘Scale 1’, double click on the measurement, and change it to 0.05 to resize the model to the true size of the scale pictured. Et voila!
6. Add Chunk B
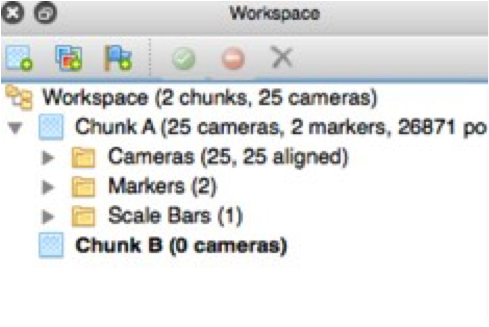
Now you can move on to ‘Chunk B’ which will cover the images of the other side of the object. Select the ‘Add Chunk’ button and rename the new chunk ‘Chunk B’. Your workspace pane will look like this:
Add photos to this chunk by right-clicking on ‘Chunk B’ and ‘Add Photos’, then repeat all the steps above starting from the section on ‘identifying features’ ). Once you’re done, you’ll have a second model showing on your screen
7. Two become one
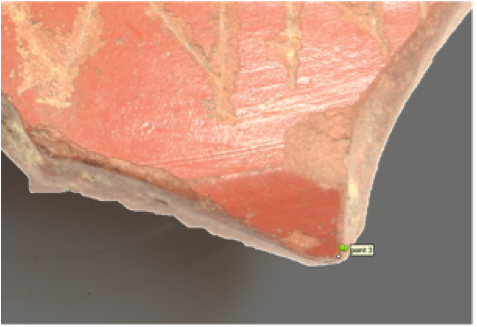
It’s time to stitch your Chunks together! Start by playing a game of matching pairs and identify specific features on the object that can be seen in BOTH Chunks. The most obvious areas for this are corners, or small shape changes like chips or cracks
For the best results, add 6-8 identical markers on both Chunks for every matching feature that you find (for example, here point 3 has been placed at the end of a distinctive pointed area of the sherd)
Once you’ve set your markers, select ‘Workflow’, ’Align Chunks’, ‘Parameters’, and finally ‘Marker Based’ method to bring the two together, and then ‘Workflow’, ’Merge Chunks’, tick ‘Combine Models’ and ‘Merge Markers’ to combine both Chunks into one.
8. Construct a dense point cloud
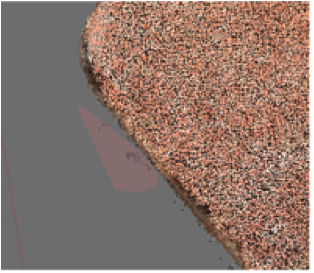
You’re almost there! This final step ensures your 3D model is as accurate as it can possibly be, by returning to the individual photos and producing a denser map of the all the features you identified earlier.
Sounds complicated? Not to worry, all you need to do is select ‘Workflow’,’Build Dense Cloud’, and accept the default setting ‘Medium’, and then the software will do it all for you, phew!
Finally, you need to build a mesh to connect all of these points together and create the surface of your 3D model. To get a more attractive and sharper result we use the Triangular Mesh with photo-texture, which blends the original photographs together to create an accurate surface texture.
Do this by selecting ‘Workflow’, and then ‘Build Mesh’. Under ‘Surface Type’ select ‘Arbitrary’ and under ‘Polygon Count’, increase the target number to 300,000.
Finally, to view your mesh model, select ‘Workflow’, ‘Build Texture’, and click on the‘textured’ button. Your screen should look like this:
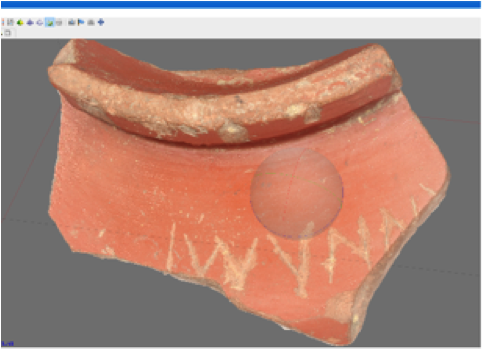
And you’re done! With a little effort, you’ve taken your 2D snaps and created an impressive three-dimensional object. Now, if only to had a friend with a 3D printer…